Improving Your Home Bakery Skills
Master the art of home baking with expert tips and techniques that will transform your kitchen into a professional bakery.
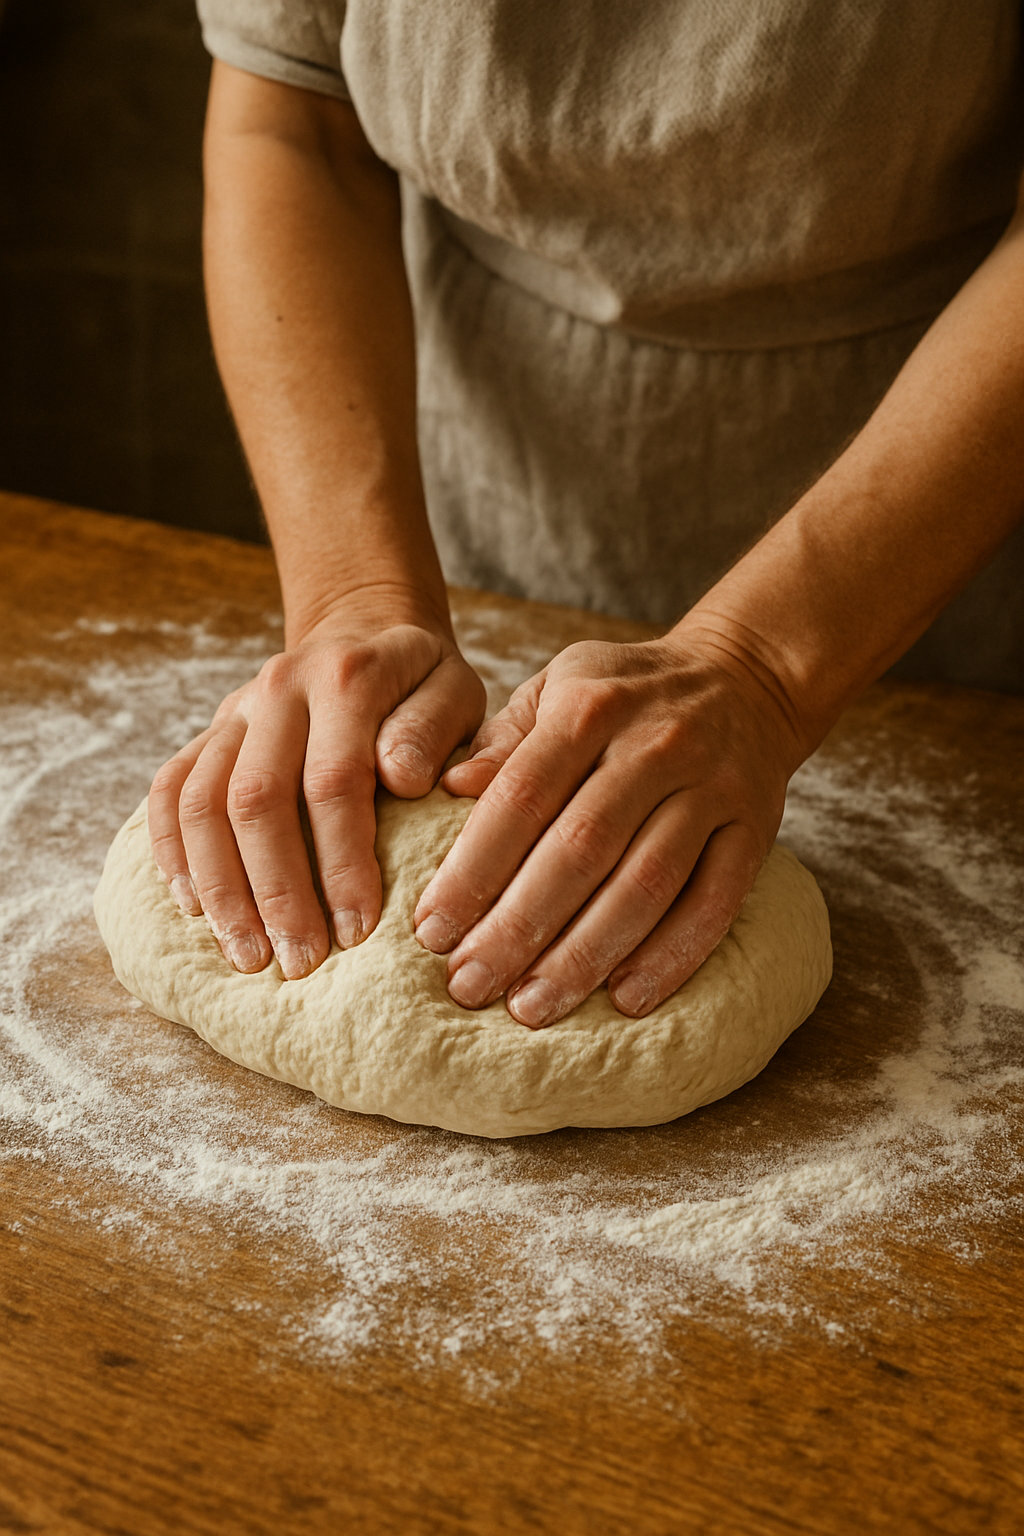
The journey from novice baker to artisan bread maker is filled with discovery, patience, and the joy of creating something beautiful with your own hands. Whether you're just starting or looking to refine your technique, these professional insights will elevate your home baking game.
The Foundation: Understanding Your Ingredients
Great bread starts with understanding each ingredient's role. Flour isn't just flour—protein content, freshness, and even the milling process affect your final loaf. Here's what professional bakers know:
Flour Selection Guide:
- Bread Flour (12-14% protein): Creates strong gluten networks for chewy, structured breads
- All-Purpose Flour (10-12% protein): Versatile for most home baking needs
- Whole Wheat Flour: Adds flavor and nutrition but requires adjusted hydration
- 00 Flour: Finely milled Italian flour perfect for pizza and delicate breads
Water Temperature Matters
Water temperature directly affects yeast activity and dough development. Aim for 75-80°F (24-27°C) for most recipes. Too hot kills yeast; too cold slows fermentation dramatically.
Mastering the Autolyse Technique
Professional bakers swear by autolyse—mixing flour and water before adding yeast and salt. This 30-60 minute rest period allows flour to fully hydrate and begins gluten development naturally.
The Autolyse Process:
- Mix flour and water until just combined
- Cover and let rest 30-60 minutes
- Add yeast, salt, and any remaining ingredients
- Proceed with your recipe
Result: Better gluten development with less kneading
The Art of Fermentation
Fermentation is where the magic happens. It's not just about rising—it's about flavor development, texture creation, and digestibility improvement.
Bulk Fermentation Tips
- Temperature control: 75-78°F is ideal for most doughs
- Stretch and folds: Perform every 30 minutes for the first 2 hours
- Visual cues: Look for 50-70% size increase, not just time
- Poke test: Gently poke the dough—it should spring back slowly
"Patience during fermentation is what separates good bread from extraordinary bread. Let time and temperature work their magic."— Master Baker Jean-Luc Poujauran
Shaping Techniques for Professional Results
Proper shaping creates surface tension that helps your bread maintain structure during the final rise and baking.
For Round Loaves (Boules):
- Start with dough seam-side up
- Fold edges into center, creating tension
- Flip seam-side down
- Use cupped hands to rotate and tighten
For Oval Loaves (Batards):
- Pat dough into rectangle
- Fold top third down, seal edge
- Fold bottom third up, seal
- Roll and seal final seam
Scoring: The Baker's Signature
Scoring isn't just decorative—it controls how your bread expands in the oven. A sharp blade, confident motion, and 45-degree angle create professional-looking loaves.
Scoring Success Tips:
- Use a very sharp blade or lame
- Score quickly and confidently
- Depth should be about ¼ inch
- Score just before baking for best results
Creating Steam for Crusty Perfection
Professional ovens inject steam, but home bakers can achieve similar results with simple techniques:
- Dutch oven method: Bake covered for first 20 minutes
- Pan of water: Place a pan of boiling water on the oven floor
- Ice cube method: Throw ice cubes on a preheated pan
- Spray bottle: Mist the oven walls (avoid the light!)
Troubleshooting Common Issues
Dense Bread
Usually from under-fermentation, too much flour, or old yeast.
Flat Loaves
Over-proofed dough or insufficient gluten development.
Poor Oven Spring
Oven not hot enough or insufficient steam.
Tough Crust
Too much steam late in baking or oven temperature too low.
Building Your Skills Progressively
Master one technique before moving to the next. Start with simple white bread, then progress to whole grains, enriched doughs, and finally sourdough. Each step builds on the previous one.
Your Progression Path:
- Basic white bread with commercial yeast
- Whole grain breads and hydration adjustment
- Enriched doughs (brioche, challah)
- Wild yeast capture and sourdough starter
- Advanced sourdough techniques
The Joy of Sharing
The ultimate reward of improved baking skills is sharing your creations. There's something magical about watching someone enjoy bread you made from scratch. And with proper storage in beeswax bags, your gifts will stay fresh longer, making an even better impression.
Perfect Your Bread Storage
Preserve your artisan bread's quality with our handcrafted beeswax storage solutions.